Artful Stampers Challenge #50

Hello everyone,

Wow, I am on a roll. This is the third challenge in a row that I have participated in. The people who know me will know that is a huge feat in itself. LOL!

We are having a colour challenge, and the colours are gorgeous, check them out-

Artful Stampers Challenge #50

Here is my entry-

Perfect Peacock

I decided to pull out the gorgeous Peacock stamp. I only played with it once and that was with the Blendabilities. This time I water coloured it. This was lots of fun and I should do it more often. I love how the Watermelon Wonder flowers really pop. I also deliberately did messy embossing. I wanted extra texture and having splatter of white embossing was perfect. I used five different stamp sets to create this one. Can you guess them all?

Perfect Peacock

Next Blog

Previous blog


Thanks for dropping by!

Kirsty xx

Catalogue Sneak Peek

Hello everyone,

Very soon, in just 10 short days, we have our Holiday Catalogue going live. I have a creation with some of those goodies to share. I used a technique I have seen a lot lately and I love how it turned out and you will laugh when you realise how easy it is….not too mention you have probably accidentally done it before and thought “Well that’s ruined”, because I know I have. LOL!

DSC_0135

See those splotches in the ink? Well that’s just plain old water. Now I will have to back up a few steps first as I am sure a lot of you will want to know what colours I used for my evening sky.

Jingle All the Way

I started down the bottom with So Saffron and I sponged it on quite liberally, then Calypso Coral, be careful to leave a little Saffron showing. I did go over again with the Saffron to blend the two together better. These two coulees were only put on the bottom. I then sponged Perfect Plum over the rest of the card stock and blended that with the Calypso as best I could. I then splotched Bermuda Bay and Island Indigo over the purple. I finished it off with Blackberry Bliss and Night of Navy last to get that deep night sky. It’s my first attempt and I am sure I will find more colours to add or swap some out for different depths and tones.

So now the sponging is done, grab your Stampin’ Up! Aqua Painter, make sure the reservoir near the tip is full of water and flick it over your night sky. Stop and mop up the water with a tissue and repeat (This is what I was talking about in regards to stuffing past cards up by accidentally wetting them!! haha). I found the longer I left the water on the whiter the spots. I did ones that were left on for 10 seconds and some left on for 2. It gave me quite a few different tones.

Now you could have done the emboss resist technique with this, but I think the water droplets would have turned out differently. I covered it liberally with the Embossing Buddy as you could imagine this piece of paper is quite wet being full of ink and water. I am sure a zap with the heat tool would help too. Using the Versa Mark I stamped the sentiment and stars and used white embossing powder. I nearly used gold but on a scrap of paper it was too dark. Silver might be nice though.

I then added the die cut along the bottom on Dimensionals to have that beautiful shadow effect.

If you do CASE it please let me know in the comments with a link so I can check out your creation.

Thanks for dropping by!

Kirsty xx

P.S. The Stamp Set and Die cut is not listed below as it is not available yet.

Supply List

Built for Free Using:  My Stampin Blog

Can Never Have Too Much Happy With Everything Eleanor

Hello everyone,

I decided to have a play with a challenge. It is something I haven’t done in a while and it was absolutely fabulous. One of my team leaders Alisa Tilsner is a designer at Around the World Stampin’ Up! Challenges and encouraged me to have a play. Here is the challenge-

Colour Challenge

I love colour challenges, it opens you up to so many more possibilities, than say an inspiration challenge. Here is my entry-

Everything Eleanor, Around the World Challenge

I loved playing with the Dictionary stamp as a background on the Peacock card so much, I had a play again. I inked up the whole stamp stamped it off and second generation stamped selective parts of the Dictionary stamp. I use a clear mount stamp, as it is easy to manipulate and bend. What I love about it, is it’s not exact and you never know what you’re going to end up with.

Everything Eleanor is one of my most favourite stamp sets. I just haven’t played with it in a while and it was time to moisten that stamp with some ink. I sponged the edges very lightly with Basic Grey Ink, it really makes the Whisper White border pop.

Everything Eleanor, Around the World Challenge

Something else I haven’t done in a while is play with my Aqua Painter, and I enjoyed that immensely. Colouring improves my stress levels so you can imagine how relaxed I am since the release of the new Blendabilites! LOL.

I hope I have inspired you to participate in a challenge or have a play with one of your favourite stamp sets.

Thanks for dropping by,

Kirsty

You Make Me Happy!

Hello everyone, Did you think I would be back so soon? I know I didn’t, LOL! I seem to be on a card making streak. Let’s hope it lasts, I do have some Project Life to catch up on, so probably not too much longer. I have always wanted to go in without a plan with a card. I had an idea (you must have an idea), but no plan. I wanted to start with a water-coloured background and go from there. I just ripped four inks off the shelf, slapped them on some water-colour paper, wet them, spread them, then create something on top of it. I found myself quite surprised with what I ended up with. I seriously thought it would be a disaster, I would laugh loudly and say something like ‘What was I thinking?’ and go back to planning  a card. I must say it is not my usual sort of creation but I like it. What do you think? You Make Me Happy DSC_0478   I am loving gold at the moment and plan on playing with it some more, so keep a look out for that. You might end up telling me to “Back up away from the Gold!” Lol Stamps used-

  • Hello, Lovely
  • Hearts a Flutter
  • Gorgeous Grunge

Ink used-

  • Baked Brown Sugar
  • Strawberry Slush
  • Coastal Cabana
  • Pistachio Pudding
  • Early Espresso
  • Versa Mark

Card stock used-

  • Very Vanilla
  • Water-color paper

Tools used-

  • Gold embossing powder
  • Gold Twine
  • Gold Sequin ribbon
  • Heat Tool
  • Aqua Painter

I hope I have inspired you to ‘go in’ without a plan! Thanks for dropping by!

Hello Sweet Friend!

Hello everyone,

I have just recently had some time to sit down and make cards that are my very own creation. I love it when I have enough artistic inspiration to come up with something of my own. It has been a very dry spell on the card making front so far this year and this was a very welcome change. I have created other cards but they were CASE’s of other people’s beautiful work and I will put them up here on my blog in due course to share with you all.

I am so in love with the Fine Feathers stamp set and have been itching to create something “good” with it. I stress the word good because I have struggled with this set since I bought it. I have made a couple of cards with the set, but they will never see the light of day on my blog! LOL. Even though this set is not  predominate on this card it is one of the main elements.

DSC_0479 DSC_0481


Stamp sets used

  • Everything Eleanor
  • Hardwood
  • Fine Feathers
  • Six Sided Sampler

Cardstock used-

  • Crumb Cake
  • Water-colour Paper
  • Vellum

Inks used-

  • Primrose Petals
  • Raspberry Ripple
  • Pool Party
  • Bermuda Bay
  • Crumb Cake
  • Early Espresso
  • Pear Pizzazz

Tool used-

  • White Gel Pen
  • Aqua Painter
  • Clear Embossing Powder
  • Heat Tool
  • Sponges

If you have any questions just ask, either by leaving it in the comment section or email me by clicking on the MAIL link in top right hand corner of my blog.

Thanks for dropping by!


Everything Eleanor!

Hello everyone!

Everything Eleanor would have to be my favourite stamp set out of the 2012-13 SU catalogue. It is simply gorgeous. It has a variety of solid, silhouette and line art images. I love this sort of variety, very similar to Elements of Style and Creative Elements, which you all know I use a fair bit of both of those sets. So really is it any surprise?! LOL

I had a play with two cards using the same colour combo but mixing it up.

I think this is my favourite, but I always have loved red flowers.

After creating them and sitting back to have a look at them I realised that the birds look like they are ‘pooping’ the pearls. LOL!! It was not meant to look like that, I can assure you.

I also like the Natural Composition SDSP quite a lot and can see me using this a lot too.

So…..it has been a very long time since I have made a card and this one (two), could be my jumping block to get started again. We’ll see! So don’t be shy, what do you think of my ‘return from mega long card making holiday’ creations? Let me know which one is your favourite!

Thanks for dropping by!

For the Love of Framelits!!

Hello everyone!

What a weekend I have had….actually make that a week! My youngest has come down with a middle ear infection, poor little thing, he was crying so hard and was inconsolable. I HATE that. You feel so useless and you cannot take their pain away. We are just super lucky our Doctor opens at 8am on a Sunday and we can come in without appointment. We got in straight away without waiting and it was our Doctor that was rostered on that weekend too. Extra bonus!! I love our Doctor! It is so hard to find a good one, especially one so good with kids…….Gee I can go on can’t I?!

Anyway, I have this super cute card to share. I made this a little while ago, I actually made a few of them I liked it so much. My new love is the Framelits Dies and matching Stamp Set Apothecary Art. I just wish I had more time to play! LOL!

I used colours Blushing Bride, Regal Rose and Crumb Cake to colour in the Image using a Aqua Painter. I used Water Colour paper for the image and Very Vanilla for the base and textured section. I also used some of the lusciousness that is Blushing Bride Pleated Stain Ribbon. Love these ribbons.

Thanks for dropping by!

Inkspirations Challenge #76

Hey everyone!

Can you believe it’s Inkspiration time already?! Time is just flying by. I have lots to do and no time to do it in! LOL! This weeks challenge is a colour challenge and it was a bit of a toughy! I’m not a huge Poppy Parade player. But hey it’s not called a challenge for nothing.

Here’s the colours

I had a play with watercolouring, followed by Shimmer Painting!

It’s quite basic, but I don’t mind how it turned out. I did a little masking, a little colouring, and daubed the two main flowers with Champagne Mist Shimmer Paint. I did use Baja Breeze….I promise! I coloured it lightly over the leaves….can you see it, well can you?! LOL!

Don’t forget to head on over the Inkspirations Challenge Blog to submit your creation and check out the rest of the DT.

Thanks for dropping by!

Melbourne Convention Workshop WOW #2

Hey everyone!

So I have made another one. I think this one is one of my favourites out of my presentation. It’s a little different but very striking, not my usual style, but hey, we have to try new things, and sometimes they work out well {we won’t mention the mishap to my butterfly onstage…okay?!}

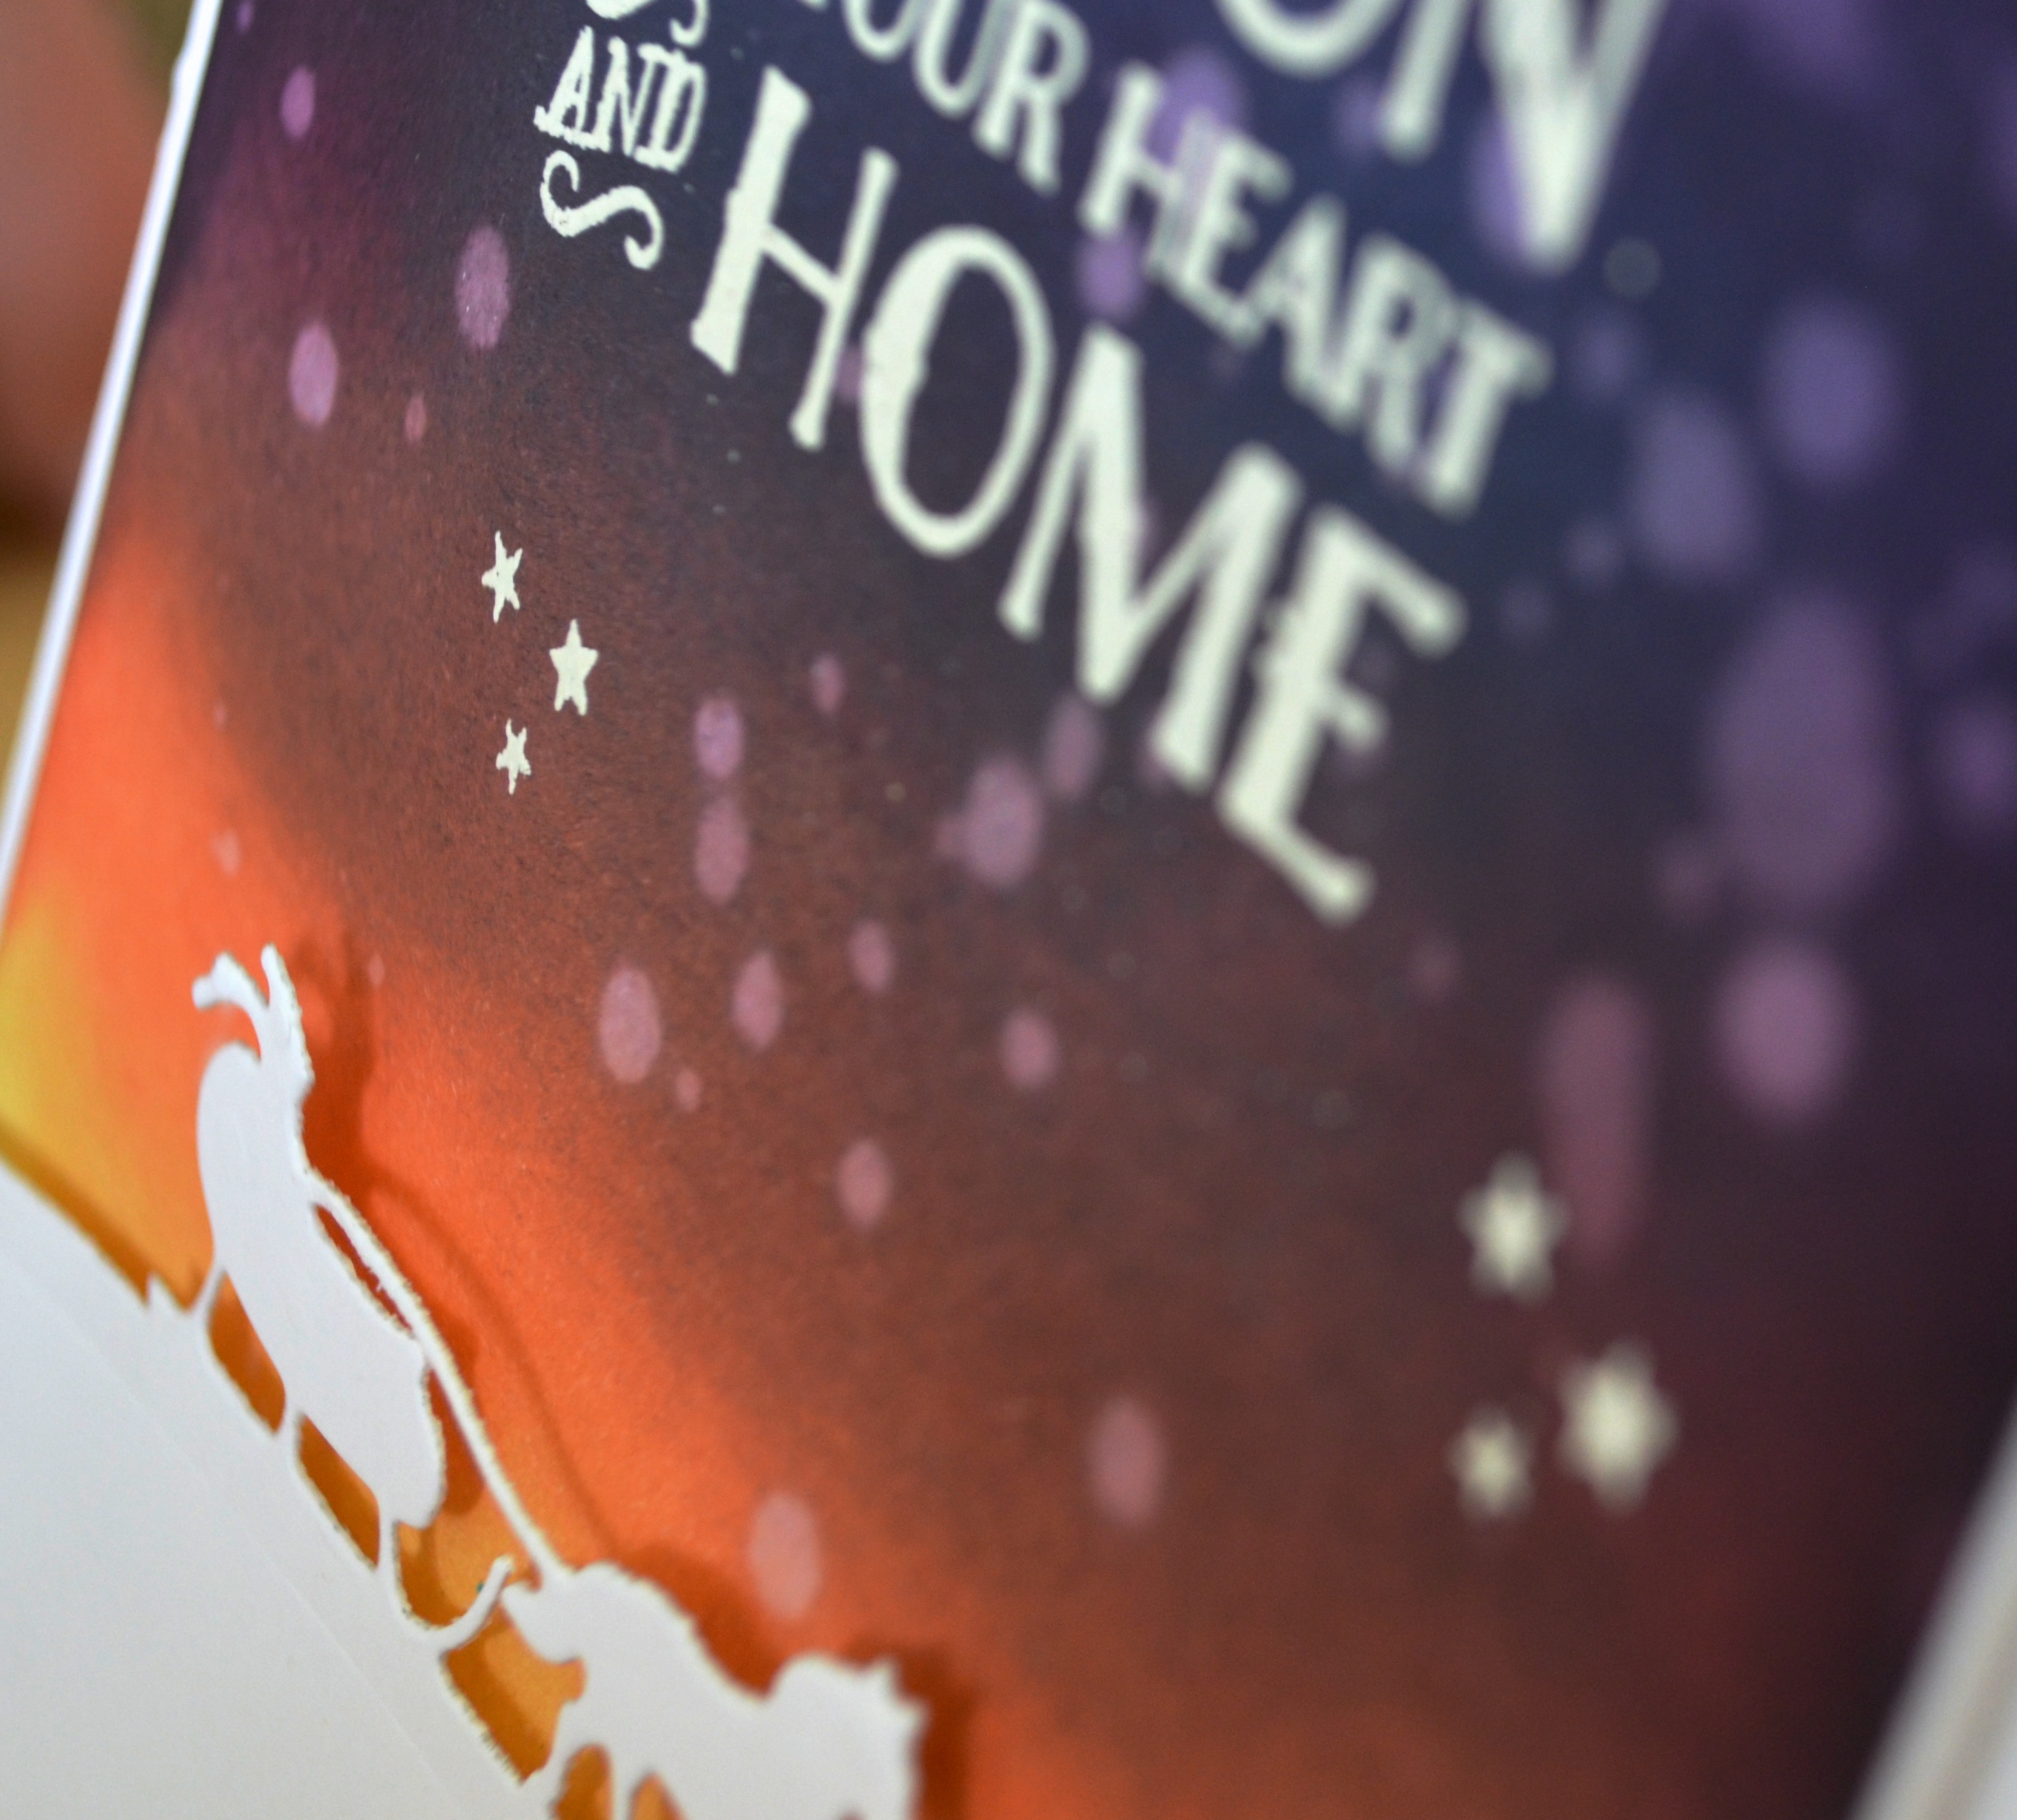
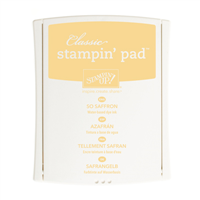
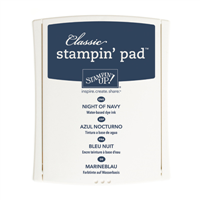
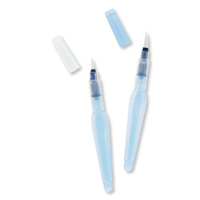
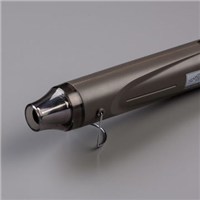
This time round I embossed in black on Baja Breeze, bleached the image out, then dried it thoroughly with the heat tool because I used the markers to colour the image in. You don’t want to bleach out the tip of the markers so make you sure you dry it well! I used Old Olive, Rich Razzleberry and So Saffron.

It doesn’t matter what step you do first. You can do your bleaching and colouring or the butterfly cut. Whatever you feel comfortable with,

On the Beautiful Butterflies die you will notice the two half butterflies on the die. These are what you will use to cut your butterfly. Cut the big one first like normal, then place the butterfly back on the die over the top of the small butterfly. Placement can be a little tricky, you have to make sure the butterflies wingtips will not be cut by surrounding dies as they are rather close

but once you find that “sweet” spot on the die use tape to mark the position for the large folded butterfly…..like this –

It will be much easier for future use or if cutting multiple butterflies.

Well I hope you enjoyed my little presentation and I taught you something “new” at convention, also the people who couldn’t attend and are reading my blog now. I must say though the people who didn’t attend didn’t laugh at me!!! LOL! I had a blast though, and would do it again in a heartbeat!

Thanks for dropping by!

Melbourne Convention Workshop WOW!

Hey everyone!

I know that I have been promising that I would have the projects I made for my Workshop WOW uploaded and explained, but……you won’t believe this……I have to make the projects again! LOL! Unfortunately before leaving for Melbourne I forgot to take photos of all my samples. All my samples, by now, would be back at home office in NSW. So I cannot take photos of them now, LOL! So I hope to get one created each day until they are all made and I will post them here and on stampin’ connection for all to see. I do apologise. I am just lucky I have friends who have taken photos of my work up on the board at convention so I can recreate them perfectly!

Okay, for my presentation I was undecided on what technique or tip I wanted to show. I had two options that were sticking out for me. The Beautiful Butterflies die and the technique, Bleaching. In the end I decided to combine both and the two B’s were born! LOL!

My first project highlighted a simple bleaching technique, and here it is-

I stamped the image from Elements of Style {LOVE} in Versa Mark on Pretty in Pink CS. I then heat embossed clear embossing powder. Using my aqua painter filled with bleach I “coloured” the image in.

To give you a good idea what your CS will look like punch a little piece of CS out of every colour and bleach half of it so you can see what the end result will be. They don’t all go white like Pretty in Pink, Baja Breeze, Regal Rose, just to name a few. Some go yellow or in Soft Suede’s case a soft mustard. Then punch a whole through them all and place on a metal ring for future reference. This is the one I made

I keep it in the colour families for quick reference, the only colour it doesn’t seem to affect is Basic Black. Whisper White seems to lose it shiny appearance, but doing something on white would seem rather pointless! LOL!

Anyway I best be off and make those other projects.

Thanks for dropping by!