Artful Stampers Challenge- Crazy About You!

Hello everyone,

I have been meaning to do this for quite a while, and that’s to take part in an Artful Stampers Team Challenge. They are up to #48, so it seems I have missed quite a few. Hopefully I can keep this up for a while as I have missed being part of a challenge team, and just crafting in general.

So here is the challenge.

Artful Stampers Team Challenge #48

Now when I first saw this combo I was Hmmm….. maybe I should wait for next week! LOL. I have an aversion to Bright Green and Cucumber Crush falls in this category. I just don’t know what to do with it.

But what’s a challenge if you aren’t really challenged, right?! I decided that I didn’t have to use much of the colour, but where ever I used it, it would pop. So the first step with a colour challenge is to find a stamp set that would suit it. I always find myself going for Nature themed stamps when I have the colour green in the combo. Maybe one day I will find another use the colour green.

Crazy About You- Artful Stampers Team Challenge #48

The first thing I stamped was the yellow flower onto some copy paper to create a mask. I then stamped the flower in the middle, masked it off and stamped the other two in second generation. I then shifted the mask to the other flowers and stamped the leaves. With these I inked the stamp in Mint Macaroon and used a Cucumber Crush marker to flick colour on the base of the leaves before stamping. When all the stamping was complete I then used the Crushed Curry and Mint Macaroon Markers to outline the images. It gave the images more definition and I really like the effect. The word hello was glued on next and it is four layers thick…..see I told you it wold ‘pop’!! LOL

Crazy About You

Last but not least the word ‘Sunshine’ was stamped underneath.

You would have arrived from Alison Barclay’s Blog and you will go onto Anna Foster’s.

Previous BlogNext Blog

Thanks for dropping by!

Kirsty xx

Silent Night!

Hello everyone,

I have been playing with my new goodies again. Jingle All the Way is very fast becoming a favourite as it gives a great opportunity to create beautiful night skies. With this particular design I found a card that Billie Moan made and I loved it. She had a colour combo for her night sky that I haven’t  played with before and decided to CASE her card. I do love how it turned out except for that dreaded smudge. You know the one that shows up just as the final piece of the card is put together?!

Silent Night

Ughh! I hate that! But I wasn’t going to create it again. LOL! Now my starry night is a little different to Billies’ where I stamped the Gorgeous Grunge in White Stampin’ Craft Ink, got a tissue and wiped it in one direction then came back and stamped the white again, but this time I did not smudge it. It reminds me slightly of those blurred night sky photos I see a lot of, and I suppose very lose to the Bokeh technique……which in fact I have made a Bokeh Technique card, I just cannot find it. I suppose that means I have to make another.

Thanks for dropping by!

Kirsty xx

P.S. Again the Stamp and Die set are not listed below as they are not available yet. Not long now!!

Celebrate Today!

Hello everyone,

I have participated in a Sketch Challenge that is from a little crafting group I am a part of on Facebook.

Here is the sketch

Sketch Challenge

I don’t do square cards very often, so this was a welcome change. Another requirement in the challenge was it that it had to be a Baby card. Which again is something I don’t do very often.

Here is the end result.

Celebrate Today, Baby Card

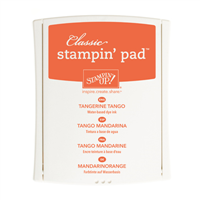
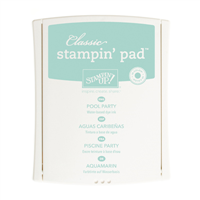
My colour combination is Night of Navy, Tangerine Tango, Pool Party and Gold. I like this combo and may create another. I envision butterflies on that one.

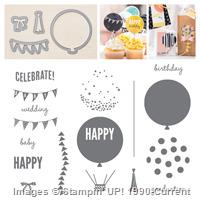
I used the Bravo Stamp Set for the sentiment. For assorted colours I used the Pen to Marker technique, which I call the Halitosis Technique for short. LOL!

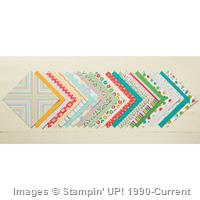
I used some paper from the Cherry on Top Paper Stack for the background. I love all those balloon strings hanging down. Very celebration style.

I will list all products used below as usual for your convenience and remember if you would like any of these products just click on the product and it will take you to my store.

Thanks for dropping by!

Kirsty xx

Price: $169.00

Supply List

Built for Free Using:  My Stampin Blog

Catalogue Sneak Peek

Hello everyone,

Very soon, in just 10 short days, we have our Holiday Catalogue going live. I have a creation with some of those goodies to share. I used a technique I have seen a lot lately and I love how it turned out and you will laugh when you realise how easy it is….not too mention you have probably accidentally done it before and thought “Well that’s ruined”, because I know I have. LOL!

DSC_0135

See those splotches in the ink? Well that’s just plain old water. Now I will have to back up a few steps first as I am sure a lot of you will want to know what colours I used for my evening sky.

Jingle All the Way

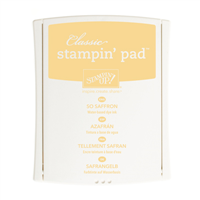
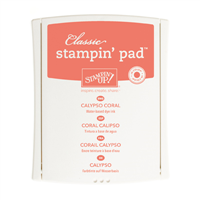
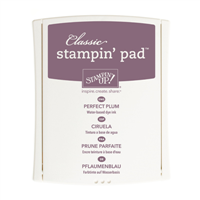
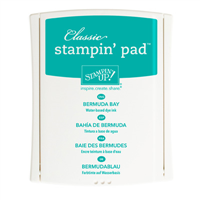
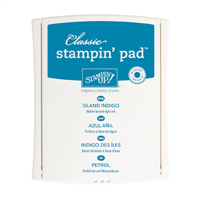
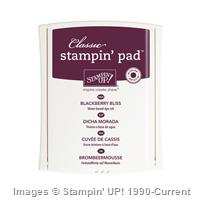
I started down the bottom with So Saffron and I sponged it on quite liberally, then Calypso Coral, be careful to leave a little Saffron showing. I did go over again with the Saffron to blend the two together better. These two coulees were only put on the bottom. I then sponged Perfect Plum over the rest of the card stock and blended that with the Calypso as best I could. I then splotched Bermuda Bay and Island Indigo over the purple. I finished it off with Blackberry Bliss and Night of Navy last to get that deep night sky. It’s my first attempt and I am sure I will find more colours to add or swap some out for different depths and tones.

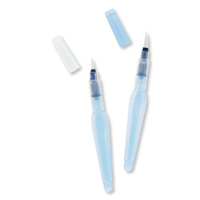
So now the sponging is done, grab your Stampin’ Up! Aqua Painter, make sure the reservoir near the tip is full of water and flick it over your night sky. Stop and mop up the water with a tissue and repeat (This is what I was talking about in regards to stuffing past cards up by accidentally wetting them!! haha). I found the longer I left the water on the whiter the spots. I did ones that were left on for 10 seconds and some left on for 2. It gave me quite a few different tones.

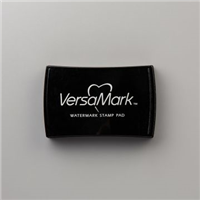
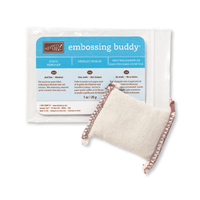
Now you could have done the emboss resist technique with this, but I think the water droplets would have turned out differently. I covered it liberally with the Embossing Buddy as you could imagine this piece of paper is quite wet being full of ink and water. I am sure a zap with the heat tool would help too. Using the Versa Mark I stamped the sentiment and stars and used white embossing powder. I nearly used gold but on a scrap of paper it was too dark. Silver might be nice though.

I then added the die cut along the bottom on Dimensionals to have that beautiful shadow effect.

If you do CASE it please let me know in the comments with a link so I can check out your creation.

Thanks for dropping by!

Kirsty xx

P.S. The Stamp Set and Die cut is not listed below as it is not available yet.

Supply List

Built for Free Using:  My Stampin Blog