Hello everyone,
Very soon, in just 10 short days, we have our Holiday Catalogue going live. I have a creation with some of those goodies to share. I used a technique I have seen a lot lately and I love how it turned out and you will laugh when you realise how easy it is….not too mention you have probably accidentally done it before and thought “Well that’s ruined”, because I know I have. LOL!
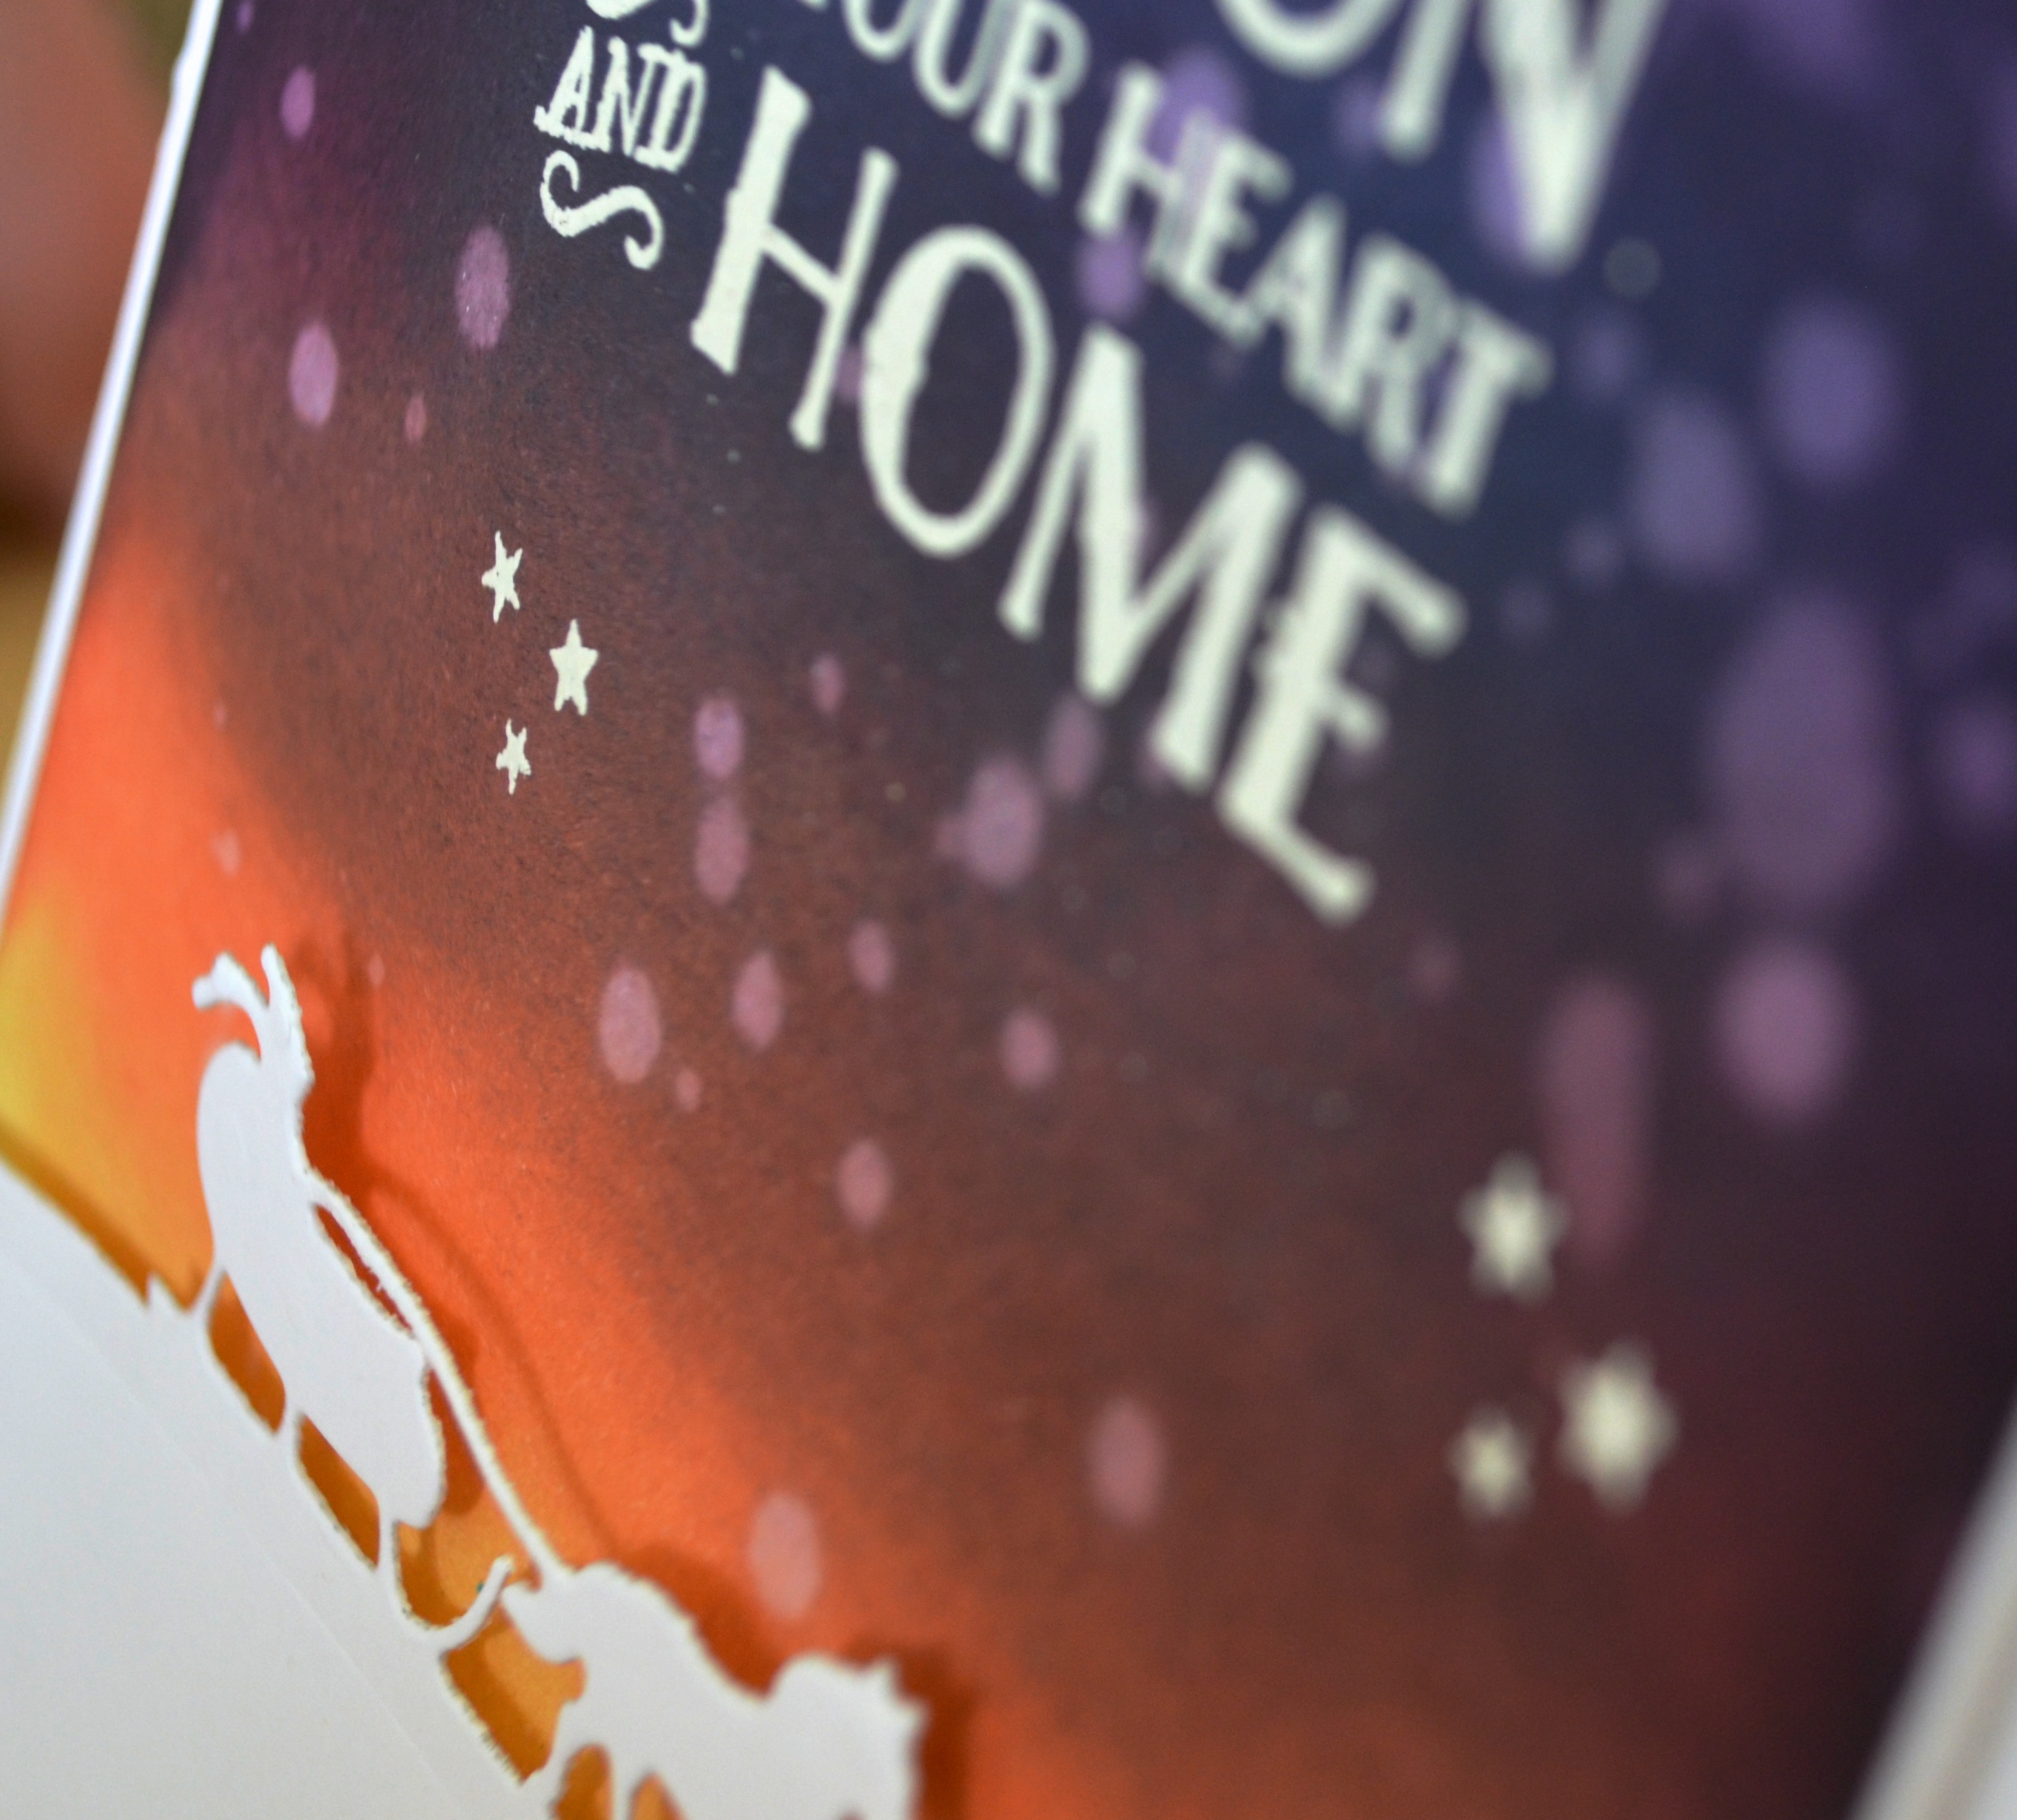
See those splotches in the ink? Well that’s just plain old water. Now I will have to back up a few steps first as I am sure a lot of you will want to know what colours I used for my evening sky.

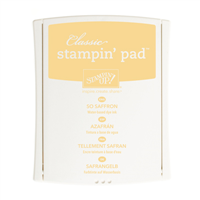
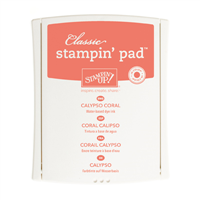
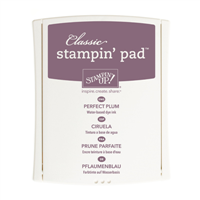
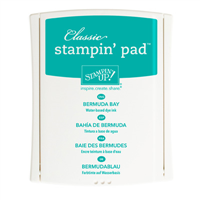
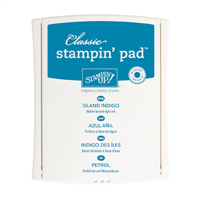
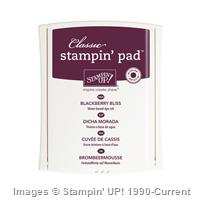
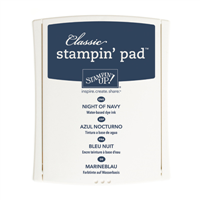
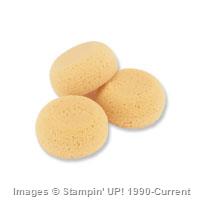
I started down the bottom with So Saffron and I sponged it on quite liberally, then Calypso Coral, be careful to leave a little Saffron showing. I did go over again with the Saffron to blend the two together better. These two coulees were only put on the bottom. I then sponged Perfect Plum over the rest of the card stock and blended that with the Calypso as best I could. I then splotched Bermuda Bay and Island Indigo over the purple. I finished it off with Blackberry Bliss and Night of Navy last to get that deep night sky. It’s my first attempt and I am sure I will find more colours to add or swap some out for different depths and tones.
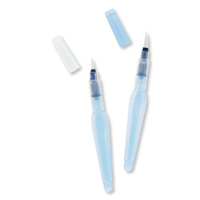
So now the sponging is done, grab your Stampin’ Up! Aqua Painter, make sure the reservoir near the tip is full of water and flick it over your night sky. Stop and mop up the water with a tissue and repeat (This is what I was talking about in regards to stuffing past cards up by accidentally wetting them!! haha). I found the longer I left the water on the whiter the spots. I did ones that were left on for 10 seconds and some left on for 2. It gave me quite a few different tones.
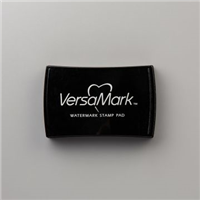
Now you could have done the emboss resist technique with this, but I think the water droplets would have turned out differently. I covered it liberally with the Embossing Buddy as you could imagine this piece of paper is quite wet being full of ink and water. I am sure a zap with the heat tool would help too. Using the Versa Mark I stamped the sentiment and stars and used white embossing powder. I nearly used gold but on a scrap of paper it was too dark. Silver might be nice though.
I then added the die cut along the bottom on Dimensionals to have that beautiful shadow effect.
If you do CASE it please let me know in the comments with a link so I can check out your creation.
Thanks for dropping by!
Kirsty xx
P.S. The Stamp Set and Die cut is not listed below as it is not available yet.


Built for Free Using: My Stampin Blog
